Pixar studios. A stray command is zapping thousands of lines of code pulling apart Toy Story 2 in mere seconds.
Oren Jacobs, the Visual Effects Lead, scrambles to the phone and quickly dials IT, demanding that they pull the plug on the server immediately. It’s too late. 100,000 files of the movie have disappeared into the ether.
But they had backups right? Wrong. Unbeknownst to the team backups hadn’t been working for the last month. Now they were really worried.
Testing has to be a part of your backup and disaster recovery strategy if you’re the lucky one who is responsible for a server and all its data. It doesn’t matter whether you are a two person engineering firm or an award winning Hollywood studio, there’s no point putting effort into backups if you aren’t certain they’ll work when you need them.
It’s also really important that you test a job straight after creation. You can guarantee it’ll be one of those unhappy coincidences when you don’t test your new backup job and you find out the morning after your server has crashed that the storage media wasn’t configured properly.
In this, the first in a series of three posts, we’d like to share how to test the backups you’ve created with BackupAssist. By the end you will be able to tell that the data you have secured has been backed up successfully.
Testing your backups
So you’ve got a new backup job ready and waiting. What’s next?
Firstly, make sure all the configs are as they should be. Do this via Backup Tab>Manage>Edit and by going through each of the functions on the left. Things to check for include:
- Whether your schedule is correct
- If the destination media is right
- Whether notifications are enabled – if you want them
When you are sure that all the settings are correct, click run and select Run a future backup now. This will start running the next scheduled backup (don’t worry, the future version will still run as well). When the backup has finished, read through the backup report and look for errors.

The Backup Report
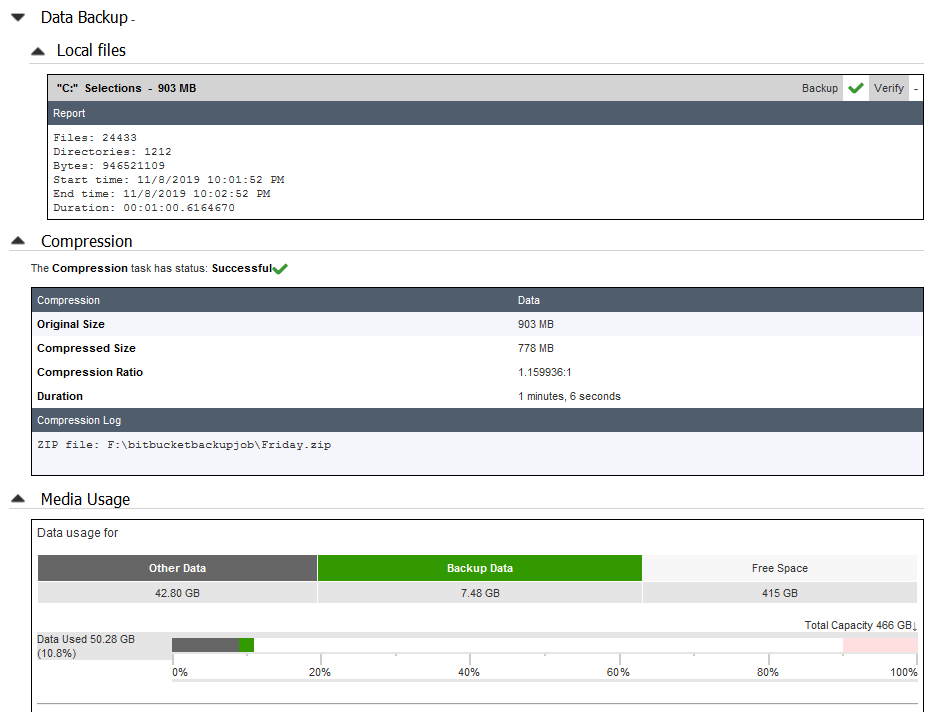
Start by looking out for errors and warnings. These stick out quite a bit so you’ll be able to tell when they’ve happened (see example).
Another good idea is to take a look in the File copy log to see which files were backed up. It’s a good idea to match the size of the data that you had backed up to the Total size in the report.
If it looks like something is missing go back to Manage>File and applications and make sure you’ve selected everything that you want protected. After all, there’s no point backing up if the important stuff isn’t getting copied.

Now that you know how to test your backups do you want to know how the story ends for our friends at Pixar? Come back tomorrow and see how luck and motherly love save the day. We’ll also show you how to test your files to see if they restore.